On this page
Opening an online store usually means juggling a site builder, a payments account, a shipping app and a spreadsheet of SKUs. On Netiva, all of it lives in one workspace — which is why an afternoon is a realistic target for a first launch. Here’s the plan we suggest, using an example store we’ll call Aurora Goods.
Hour 1: Describe the store and build the catalog
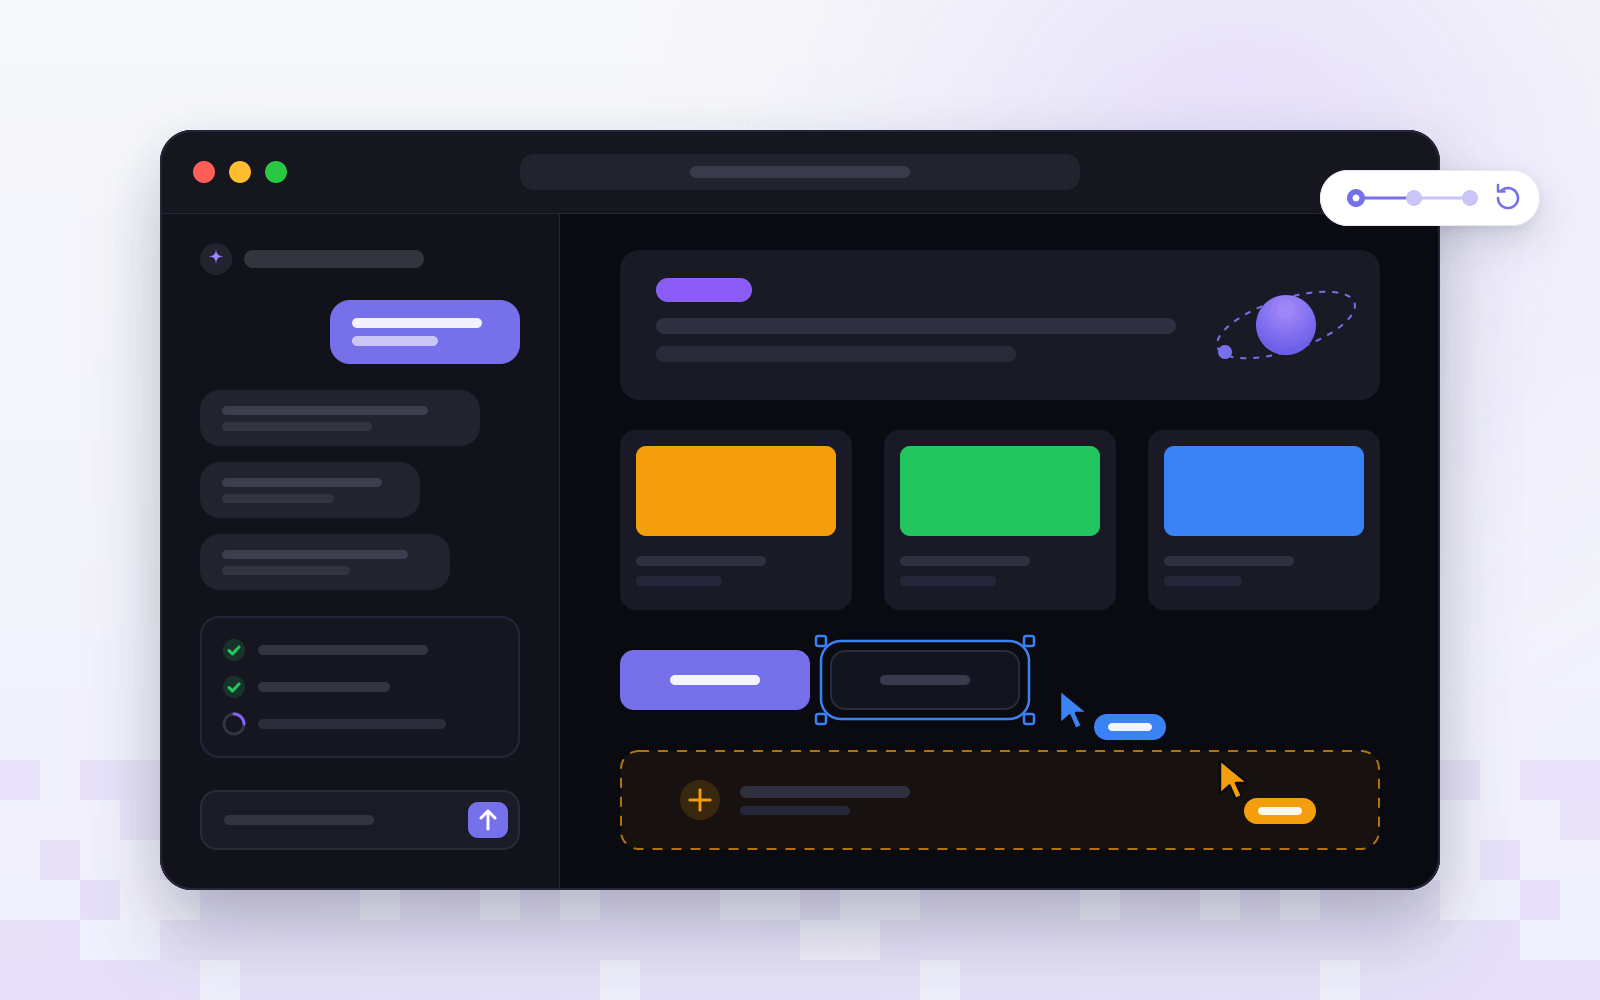
Start in the chat. Tell the agent what you sell, who it’s for and how the store should feel. A short, specific brief goes a long way:
Create a store called Aurora Goods for everyday essentials.
Categories: Apparel, Home, Footwear.
Start with a linen shirt in three sizes, a ceramic mug in two
colors and a pair of sneakers in five sizes.
Light, clean design with one accent color. Mobile first.
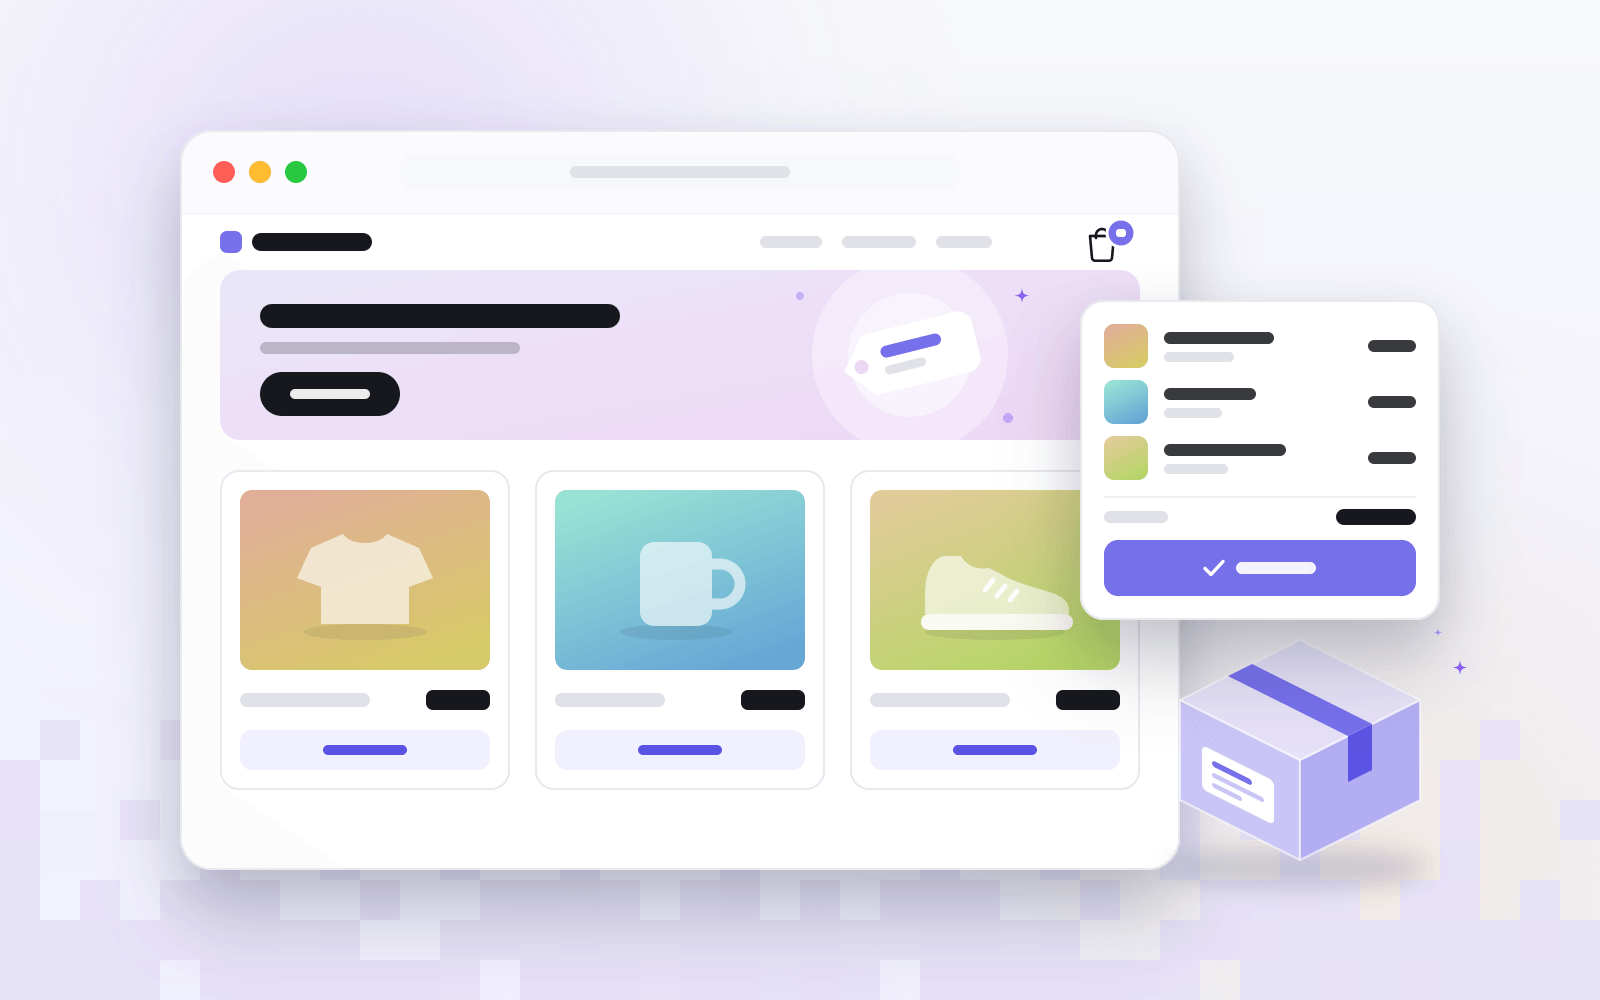
The agent generates the storefront and a starting catalog. Open Commerce → Products to review it: each product can have variants — sizes, colors and SKUs — with their own price and stock. Anything you’re not ready to sell can stay in Draft until you mark it Active.
Hour 2: Organize, price and set up checkout
- Categories and collections. Group products into categories, then build merchandised collections — say, “New season” — that map to your storefront.
- Pricing and stock. Set prices and stock per variant. The product list flags low stock, so you know what to reorder.
- Checkout. Every store comes with a fast, hosted one-page checkout — fewer steps between the cart and a confirmed order.
- Payments and tax. Take cards out of the box, with automatic tax and multi-currency for selling worldwide.
Hour 3: Shipping that calculates itself
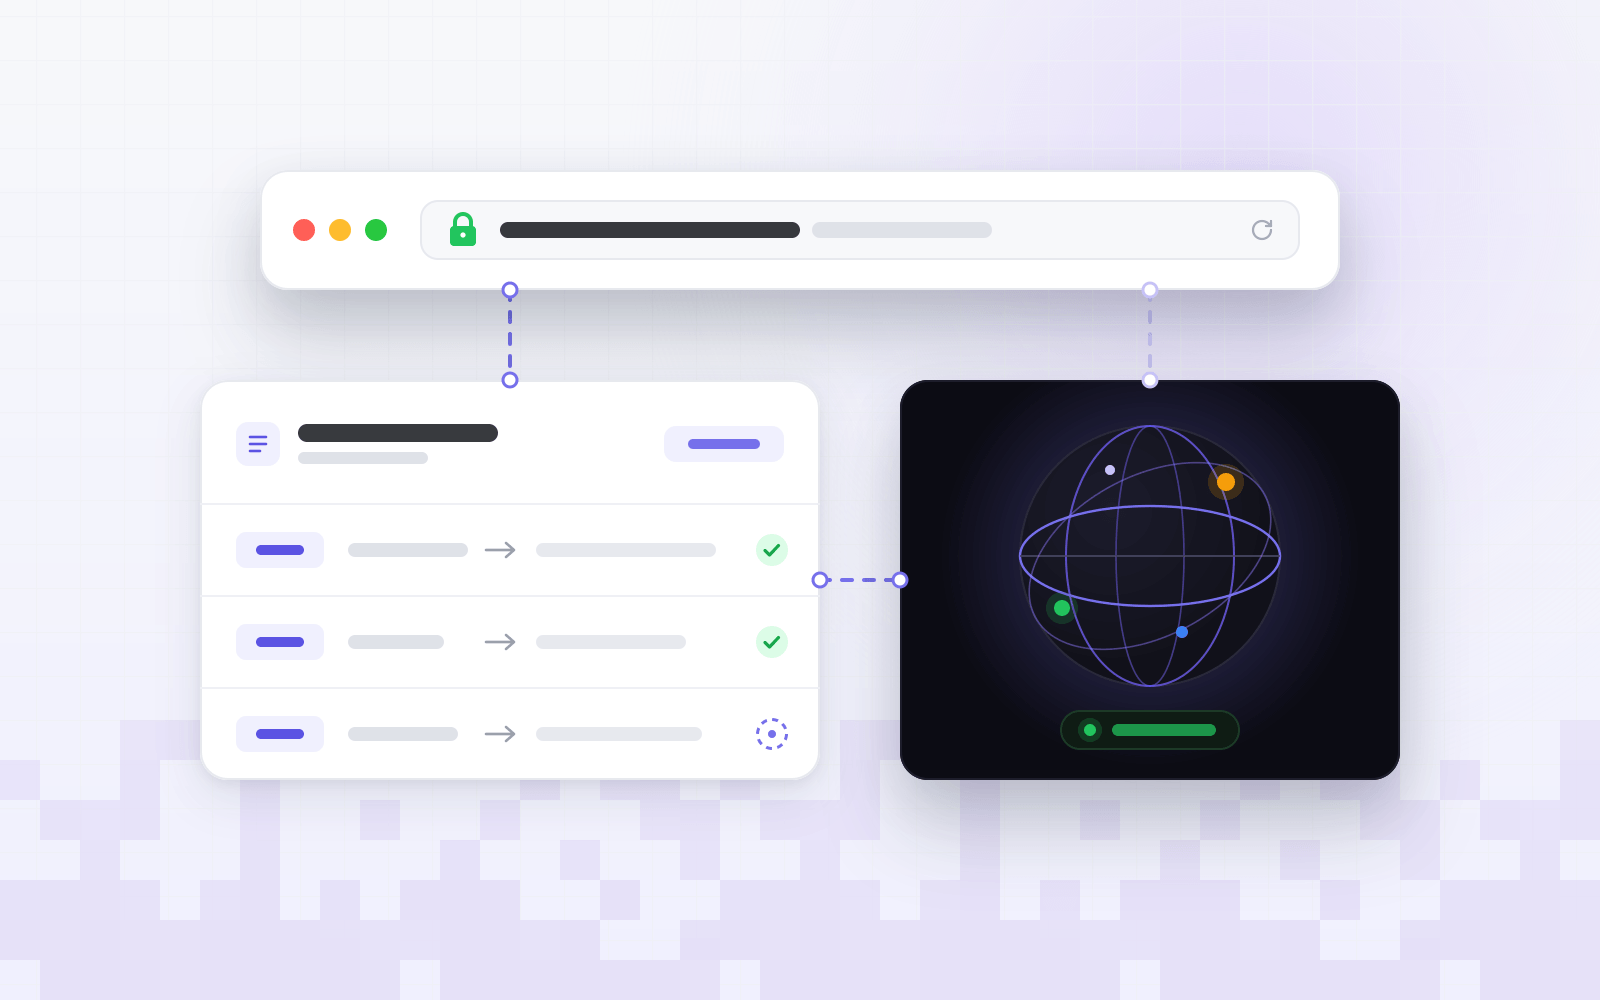
Add your warehouses — for example one in the US and one in Europe — and assign products to them. Set parcel sizes with dimensions and weight, and Netiva calculates live carrier rates at checkout, routing each order to the nearest origin that can ship it.
When orders arrive, they move through a pipeline for fulfillment, refunds and customer notes. Print shipping labels and keep customers updated with tracking from dispatch to doorstep.
Hour 4: Polish the storefront and go live
Stores ship with mobile-first product pages, so open a few on your phone and ask the agent for tweaks: “make the product photos larger” or “add a short returns note under the price”. Every change is checkpointed, so anything you don’t like is one rollback away.
Then put the store on your own domain. SSL is handled for you, and our custom domain guide covers the DNS steps.
Launch checklist
- Walk through checkout yourself, from cart to confirmation.
- Check shipping rates for a domestic and an international address.
- Review tax on a sample order.
- Move every product you’re ready to sell from Draft to Active.
- Publish, then share the link.
Choosing a plan
The Starter plan covers up to 10 products — plenty for a first drop — and includes custom domain connection. As the catalog grows, Pro supports up to 100 products and Business up to 250. Compare plans to find the right fit, or see everything the store can do.